If you’re in the process of selling your Mac or if you just want to pass it on to someone else, you should first erase your data from that computer. There are different ways to achieve this and I will show you all.
But first things first. Here’s the order of the steps you should follow:
- First, create a backup of your current machine.
- Then, perform the other steps listed here like signing out of iTunes, iCloud, iMessage, etc.
- Now you’re ready to erase the hard drive and reinstall macOS. In the newer versions of macOS, this has become really easy.
Just in case someone asks for the battery cycle count, you could enter this command in the terminal and note the cycle count for future reference:
system_profiler SPPowerDataType | grep "Cycle Count" | awk '{print $3}'
Reinstall macOS
Step 1: Ensure FileVault is activated
Ensure that your computer is encrypted, that is that you use FileVault full disk encryption. Check that under System Preferences > Security & Privacy > FileVault. It should read “FileVault is turned on for the disk …”.

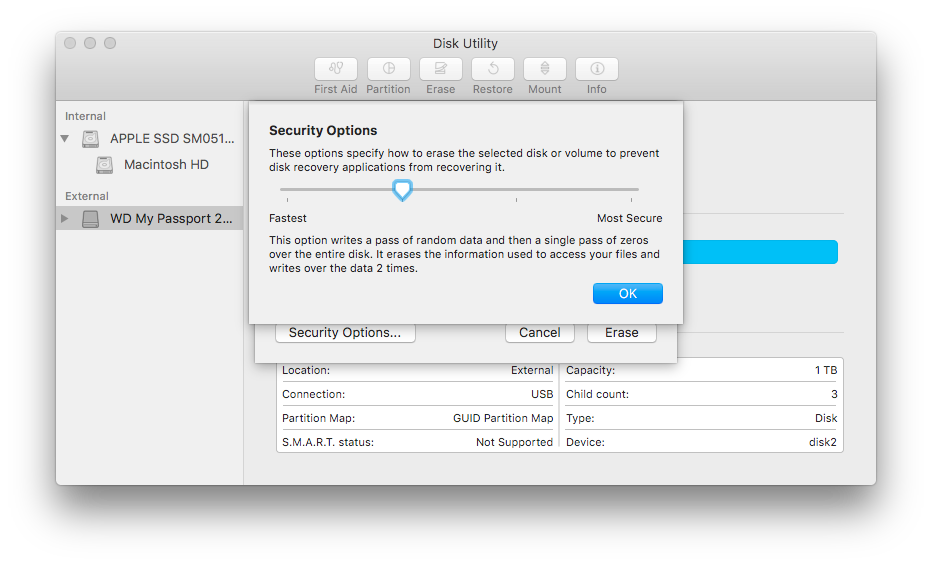
Why is this important? Because if a disk is fully encrypted and you don’t possess the key to decrypt the disk, the data on it looks like random gibberish to you. This means that we don’t need to perform a 2-pass or 3-pass erase, or “secure erase”, of the entire disk anymore as it was common in former times of unencrypted HDDs.1 Instead, it’s suffice to just throw the key away.
Step 2: Reboot into the recovery partition
Restart your Mac and immediately hold down ⌘R. You can release the keys when you see the Apple logo. This will reinstall the version of macOS that is currently installed. This will also ensure that the new installation will not be associated with you or your Apple ID.
There are other key combinations, too, depending on what you intent to do and which version of macOS you’re currently using. But they only make the process complicated and it seems they remove associations with your Apple ID only if you’re using Sierra or newer. So stick with ⌘R and you’re all set.
For example, you could downgrade and sell your Mac with the version of macOS it came with instead of the version currently installed. You could also upgrade to the newest version of macOS while in the process of reinstalling it.
- If you’re using Sierra or newer and want to upgrade to the latest version, hold
⌥⌘Rafter rebooting. - If you want to sell your Mac with the version it came with, and
- you’re using Sierra 10.12.4 or newer, hold
⇧⌥⌘R. - you’re using El Capitan or earlier, hold
⌥⌘R.
- you’re using Sierra 10.12.4 or newer, hold
But again, these combinations just make things complicated. Simply stick to ⌘R while rebooting. This guarantees that any associations with you or your Apple ID will be removed, no matter which version of macOS you’re using.
Step 3: Delete the Macintosh HD disk
From the macOS Utilities window that you will see after rebooting into the recovery partition, select Disk Utility and then
- Select your disk in the sidebar.
- Click erase.
- Enter “Macintosh HD” as name, choose Mac OS Extended (Journaled) as format and GUID Partition Map as scheme.
- This will irretrievably delete all your data, so confirm only if you are 100% sure and have a working backup.
This deletes your FileVault key and installs the version of macOS you chose via the key combination.
After the installation is finished you will be greeted with the setup assistant. This is where it’s the new owner’s turn, we’re done here. Press ⌘Q to shut down your Mac and put it in its box.
As you can see, selling a Mac has become a heck of a lot easier since OS X Lion and the introduction of the Recovery HD. Before Lion—or without a Recovery HD—you’d have to obtain a disc image of macOS, create a bootable USB flash drive and boot from that. Without a Recovery HD, it would be extremely tedious to prepare a Mac for sale. So a working Recovery HD is extremely important. In case you use either SuperDuper or Carbon Copy Cloner to create backups of your Mac, you should definitely check out my blog post about my backup strategy, because one of these programs does not retain the Recovery HD when cloning your disk.
-
Before full disk encryption was so prevalent as it is nowadays, it was necessary to overwrite the disk multiple times to prevent data recovery with the help of forensic tools. But this repeated overwriting is extremely bad for SSDs, since the cells in their flash memory wear out with erase cycles. Such multiple-pass erasures would lead to an early death of the SSD. That’s why secure erase is not available for SSDs. But don’t worry, the time of secure erase is gone. If you have FileVault activated, you’re good to go. ↩︎